Serpentine
Every island of a layer printed as one continuous line that snakes back and forth through the wall thickness, in place of separate perimeters and infill.
A nut under torque is loaded radially. The threads wedge outward against the bolt, and a wall built from concentric perimeter loops has a bond line running along exactly that path, so it peels. Serpentine has no concentric bond line. The bead runs in and out through the wall, so material crosses the load path continuously.
The same geometry helps overhangs. A thread is one long overhang, and printed as a sweeping arc it curls upward as it cools. Around an interior hole it pulls inward instead and closes the hole down. Weaving the bead through the wall replaces that single long arc with many short ones, each anchored at both ends.
This is why the pattern suits fasteners, knurled knobs, and anything else that is round, symmetric, and holds a thread. It is not a general purpose wall generator. Complex shapes may slice poorly.
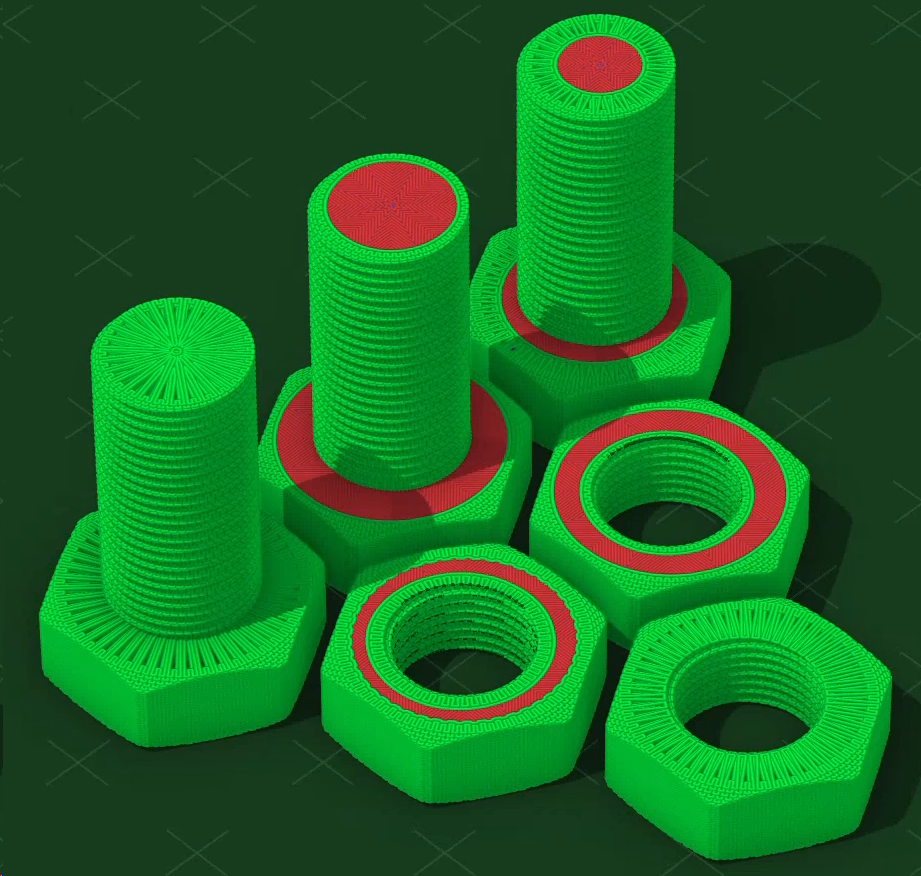
The same bolts and nuts sliced with some of the various Serpentine options.
The Serpentine Surface
The pattern shows on the outside of the part. Each layer's turns land half a period off the layer below, so the tooth openings stack into a dense staggered texture rather than lining up into vertical ribs. Flat faces show the radial fan the pattern makes as it reaches the center.
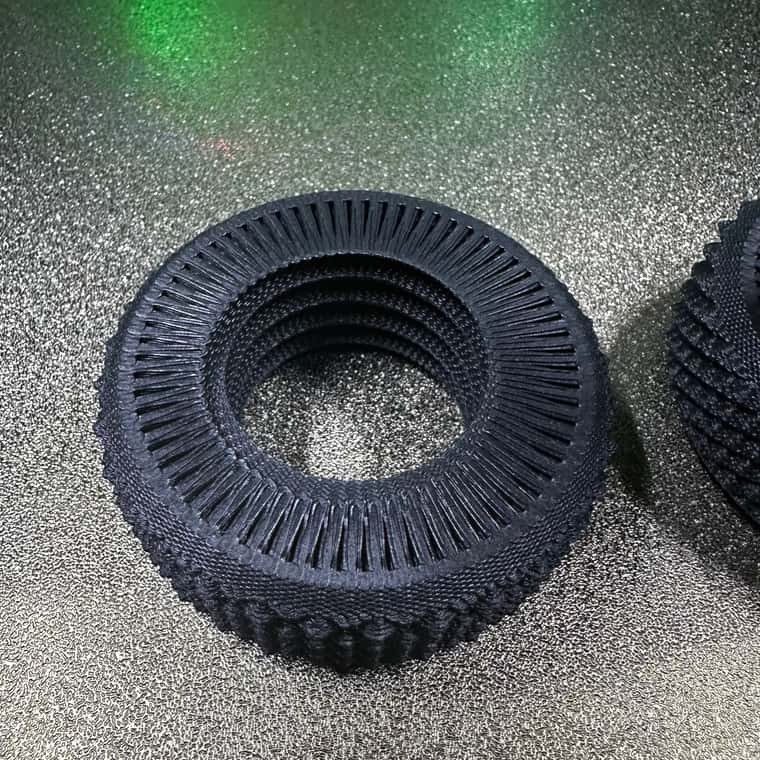
Staggered ridges wrap the side wall
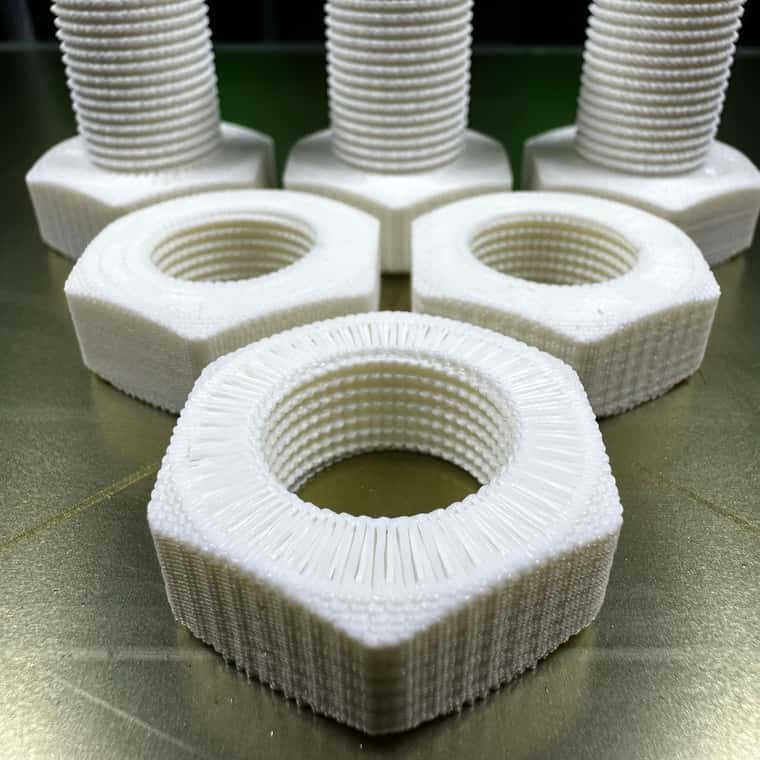
The radial fan on a flat face
If you want the structure without the texture, Outer surface loop wraps one continuous perimeter around the outside and moves the tooth-carrying wall just inside it, bonded to it. The openings then interrupt only the hidden inner wall, leaving a conventional exterior.
Full Depth
By default the pattern fills the entire cross-section, replacing both perimeters and infill. On a solid round part the teeth converge on the center in a radial fan, with their depths cascading deep, shallow, medium so a single line covers the whole area. On a nut or washer the pattern forms a band between the outer profile and the bore.
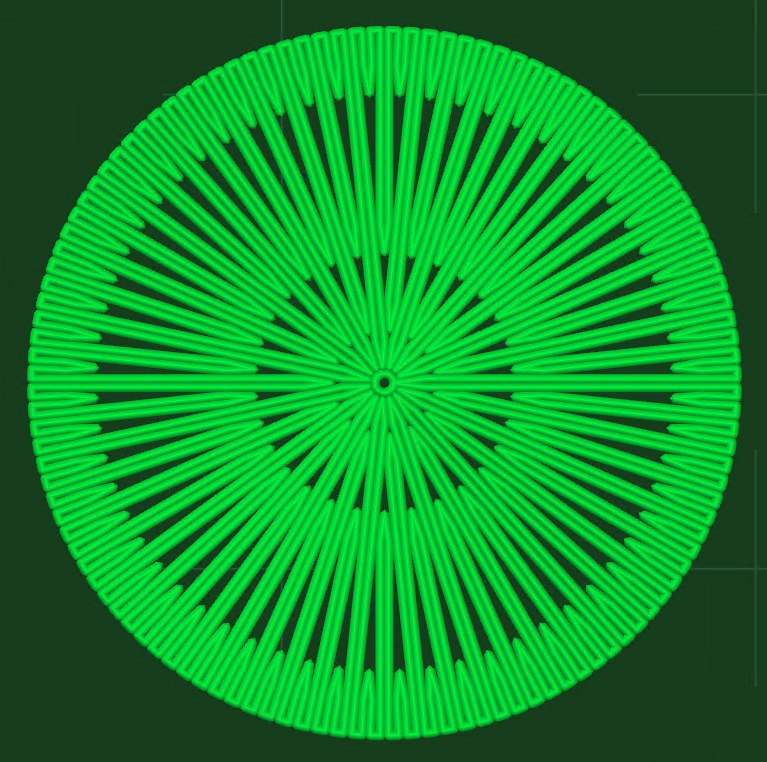
A solid round part
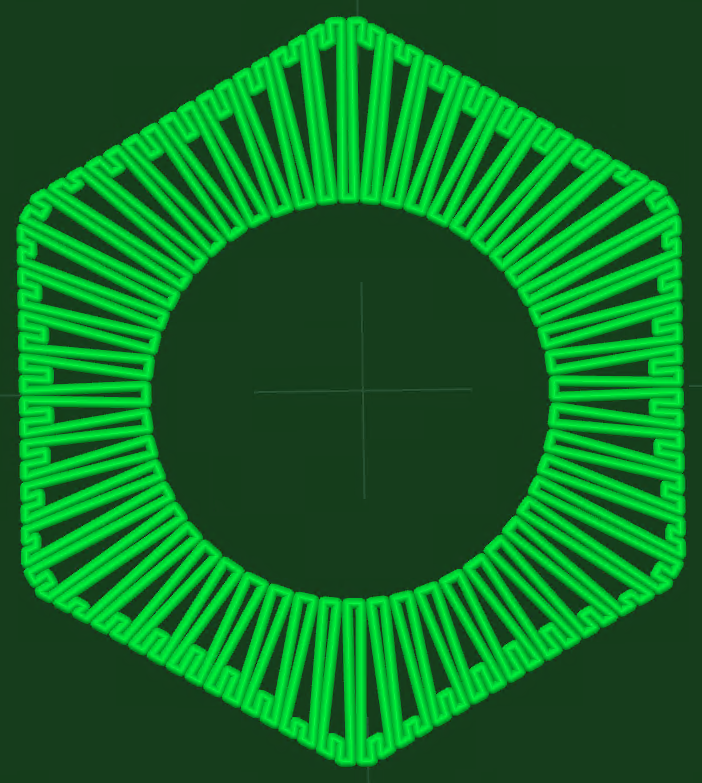
A nut
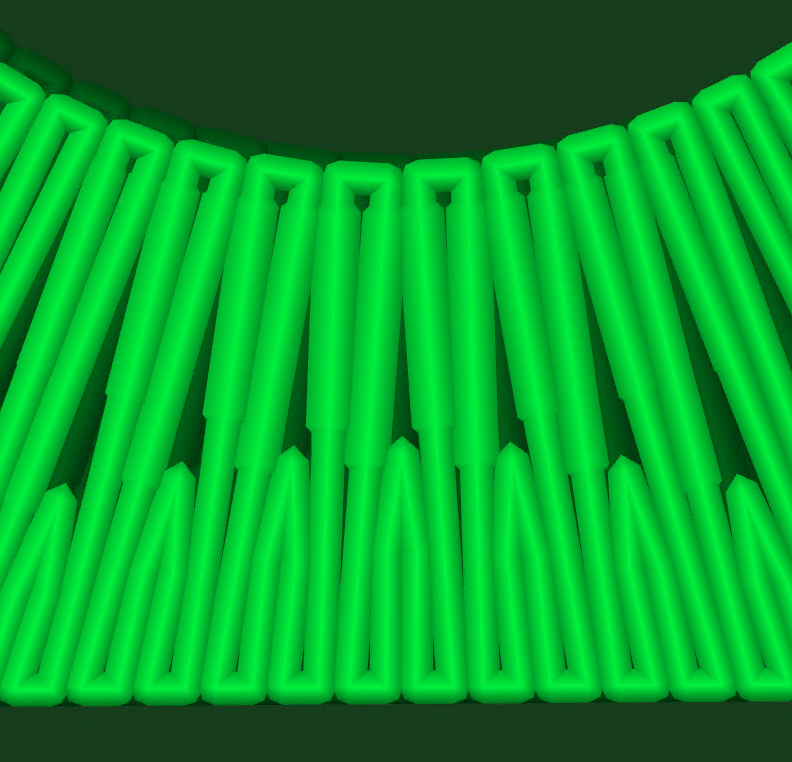
Tooth depths cascade so one continuous line covers the whole area.
Limited Depth
Turn on Limit Serpentine depth and the pattern becomes a band along the walls to whatever depth you set, with the interior beyond it filled normally: sparse infill, solid top and bottom layers, the same as the leftover area behind ordinary perimeters. This keeps the wall behavior on a part too large to fill with one continuous line.
Aim controls where the teeth point in this mode. Convergent points every tooth at the part center for a smooth radial fan, which suits round parts like bolts and nuts. Perpendicular points each tooth square to the wall, which handles curved or irregular profiles better.
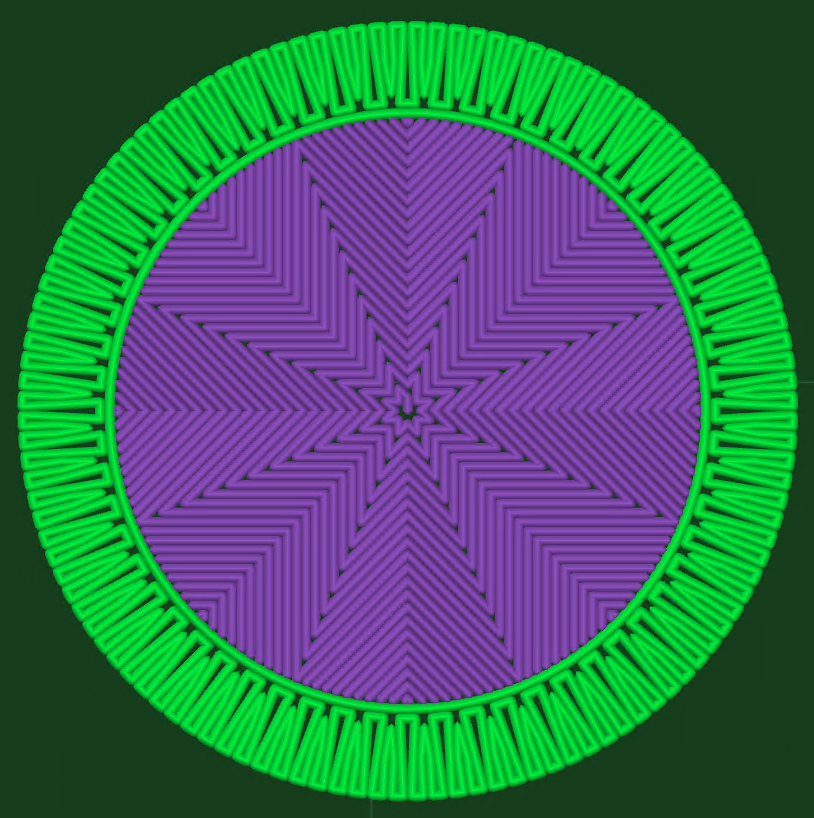
Limited depth: a Serpentine band along the wall, sparse infill inside.
Relaxed Spacing
Relaxed spacing pushes the teeth apart instead of packing them tightly. The bead follows the wall cleanly for the distance you set, turns inward as a single solid rib, and returns to the wall. On a wing section this produces a skin with internal ribs closing off rectangular cells. On a cylinder it comes out as spokes.
Rib spacing acts as a density control while the part keeps one continuous bead and a single-bead wall. Ribs march from the seam at exactly the spacing you set in both directions, and the leftover is absorbed by one wider or narrower cell on the far side, so rib columns stack into unbroken vertical webs even on tapered parts.
The interior stays mostly open in this mode, which suits open-top parts. Solid top surfaces cannot bridge the cells. Holes print as plain single-bead loops, and relaxed spacing overrides the depth limit when both are on.
Outer Surface Loop
The exterior becomes a single uninterrupted bead. The extrusion snakes out through one widened tooth, laps the whole object, and snakes back in, leaving one seam-like crossover where it crosses. The pattern stacks aligned so that crossover forms a single vertical column rather than wandering around the part.
This works at both classic and relaxed spacing.
Settings
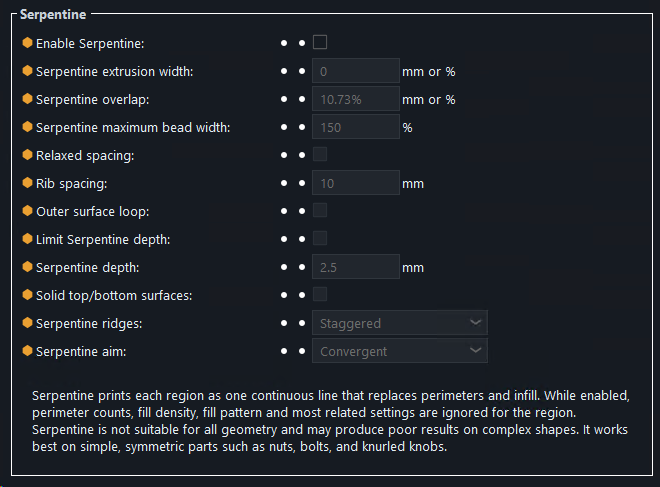
Serpentine lives under Print Settings, Layers and perimeters. It runs on the Athena perimeter generator, so enabling it switches the generator to Athena after a confirmation prompt, and it takes over the object's perimeter count, fill density, fill pattern, and most related wall settings.
Serpentine extrusion width
Width of the serpentine bead. Set to 0 to inherit the external perimeter extrusion width. A percentage is computed over layer height.
Serpentine overlap
How deeply neighboring beads bond into each other, defaulting to 10.73% over layer height, the same semantics as Interlocking overlap. Negative values spread the beads apart instead, leaving a uniform gap that lowers the effective density.
Serpentine maximum bead width
Ceiling for bead widening as a percentage of nozzle diameter, 150% by default. Where the pattern opens up at depth, beads grow up to this width to fill the gap rather than leaving it.
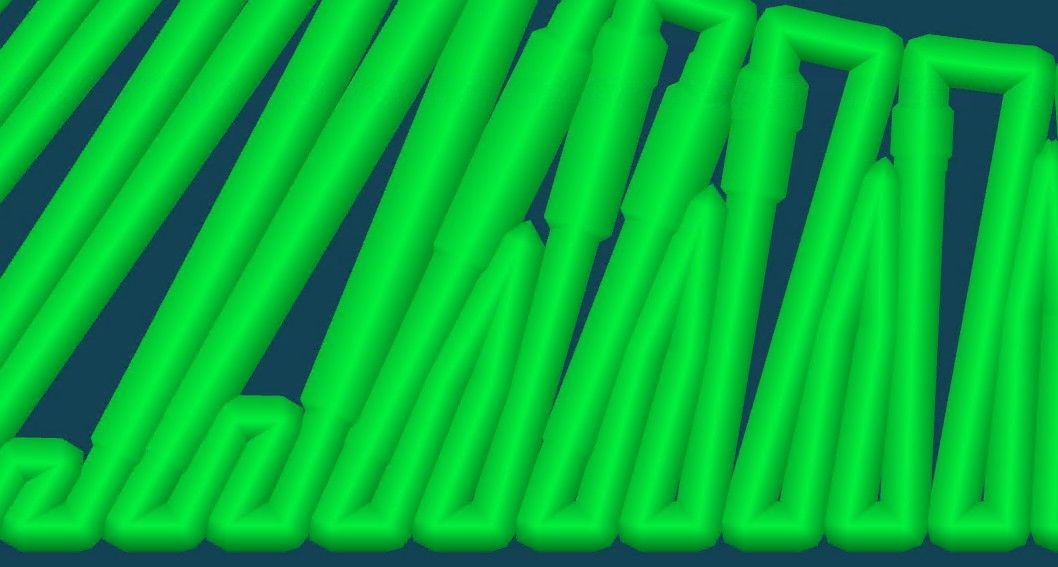
Relaxed spacing and Rib spacing
Relaxed spacing switches the pattern from teeth to ribs. Rib spacing is the distance the bead follows the wall between them, 10mm by default. Smaller values pack more ribs and raise the density. Values below roughly two extrusion widths are floored to the tight pitch.
Outer surface loop
Wraps a continuous perimeter around the outside of the pattern. The Ridges setting is ignored while this is on, since the pattern has to stack aligned to keep the crossover in one column.
Limit Serpentine depth and Serpentine depth
Restricts the pattern to a band of the given depth, 2.5mm by default, and fills the interior normally. The smallest pattern that can close is two extrusion widths, so anything below that is raised to the minimum.
Solid top/bottom surfaces
In full-depth mode, prints the visible parts of top and bottom surfaces as ordinary solid infill, two layers per face. The top and bottom counts under Horizontal shells only switch each face on or off here. The boundary keeps its zigzag at the shortest depth so the side pattern stays continuous, and covered interior areas carry on as serpentine.
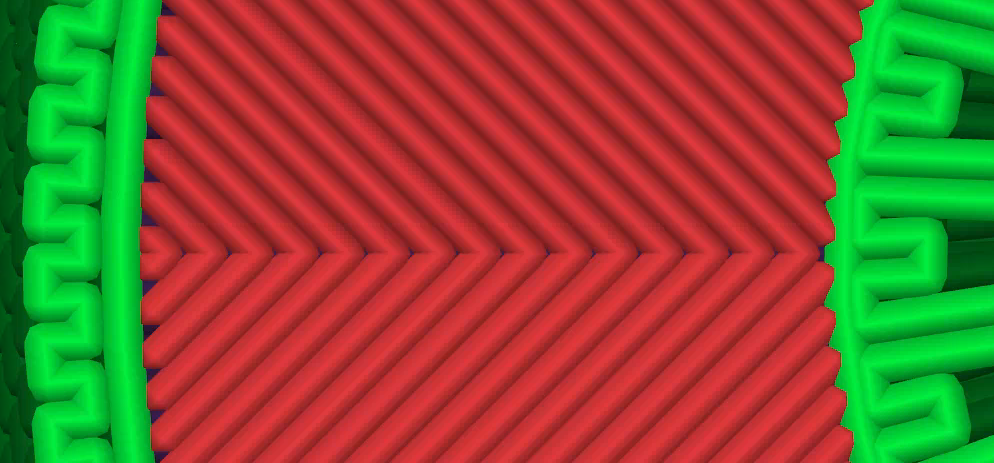
Serpentine ridges
How the external zigzag stacks from layer to layer. Aligned stacks the ridges into straight vertical columns. Staggered, the default, shifts the pattern half a tooth each layer so every cap is bridged by the layers above and below. Random lands the pattern at a new position on every layer.
Serpentine aim
Convergent or Perpendicular, described above. Only applies when the depth limit is on.
Where It Fits
Serpentine has its own feature type in the G-code preview, with overhanging spans split out as Serp. Overhang. It prints at the External perimeter speed, fan, and acceleration settings, and has its own manual fan controls under Filament, Cooling.
Serpentine is a region setting: scope it to whole objects, or to part of one through a modifier, using Overrides. There is no paint-on control for it. Where the pattern cannot fully cover an island, preFlight prints that part as normal walls rather than forcing an oversized bead, and tells you once per object.
Full-depth Serpentine replaces the perimeter structure, so Interlocking perimeters are ignored for that region even if enabled. With Limit Serpentine depth on, interlocking shells can still form in the normally filled interior behind the band.